In Custom Menu, you can customize the main menu for your project, as well as its sub-menus.
Furthermore, you can restrict the access to each menu item for specific roles only.
Accessing the custom menu configuration
To access the Custom Menu configuration page:
- Navigate to Admin > White Labeling.
- Click the Custom Menu tab.
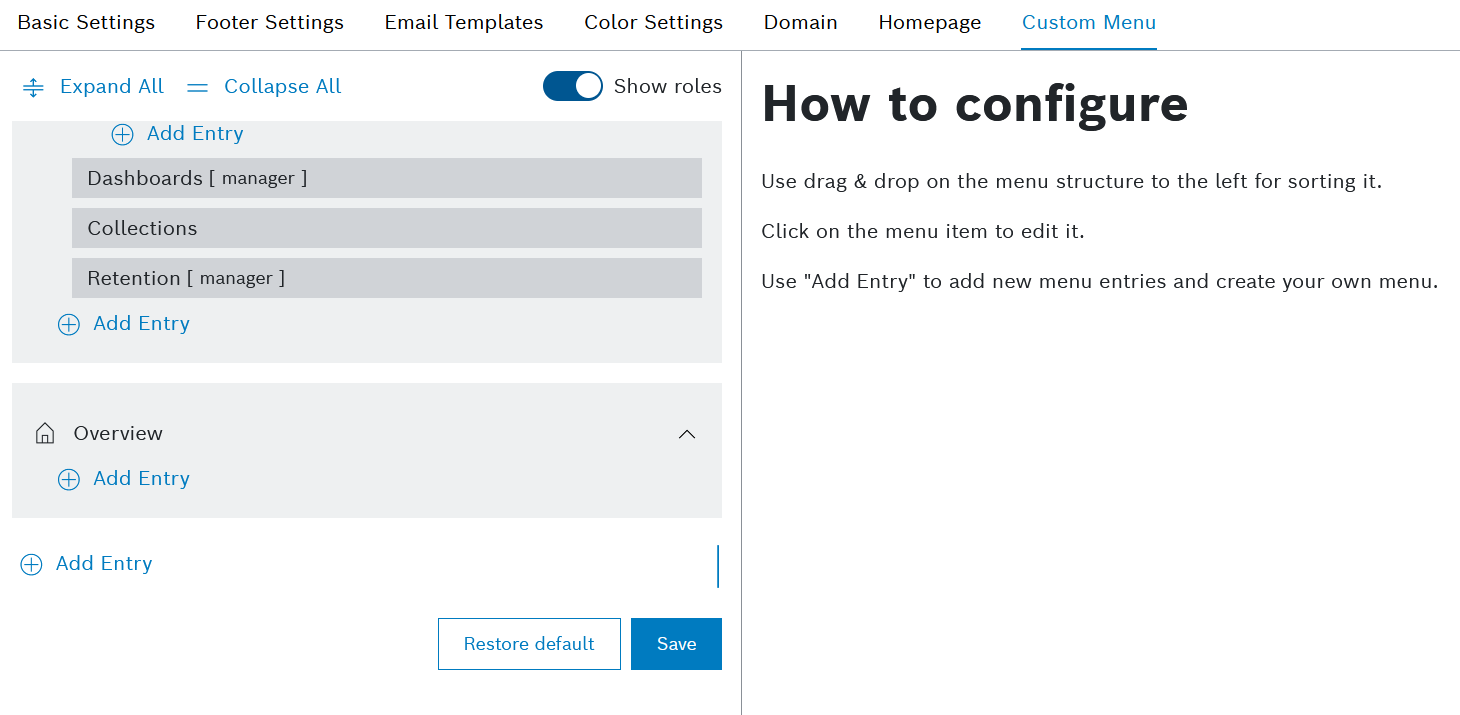
→ The Custom Menu tab is displayed and shows the configuration page for a custom menu.
- Adding entries
Refer to the Adding entries page.
- Editing entries
Refer to the Editing entries page.
- Deleting entries
Refer to the Deleting entries page.
- Arranging entries
Refer to the Arranging entries page.
In the Custom Menu configuration page, click the Restore default button, as on the screenshot above.
→ The whole custom menu configuration is discarded and cannot be restored.
→ The default menu configuration is applied.
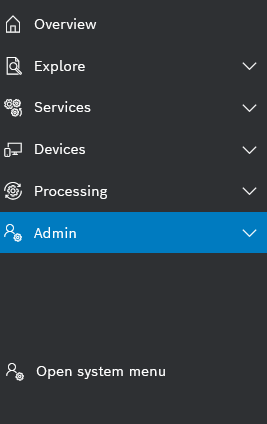
- Click Open system menu, the entry at the very bottom of the side navigation for users with Admin role.
The default menu is displayed.
The entry at the bottom of the side menu has changed to Open custom menu. - Click Open custom menu when you want to see again the customized view of your project menu.
The custom menu is displayed.