In Logs, user interactions are displayed. Based on the User ID and Entity ID displayed, each change can be associated with a user and the respective entity.
Proceed as follows
Click the Logs menu item.
→ The Logs menu item is displayed and shows all user interactions.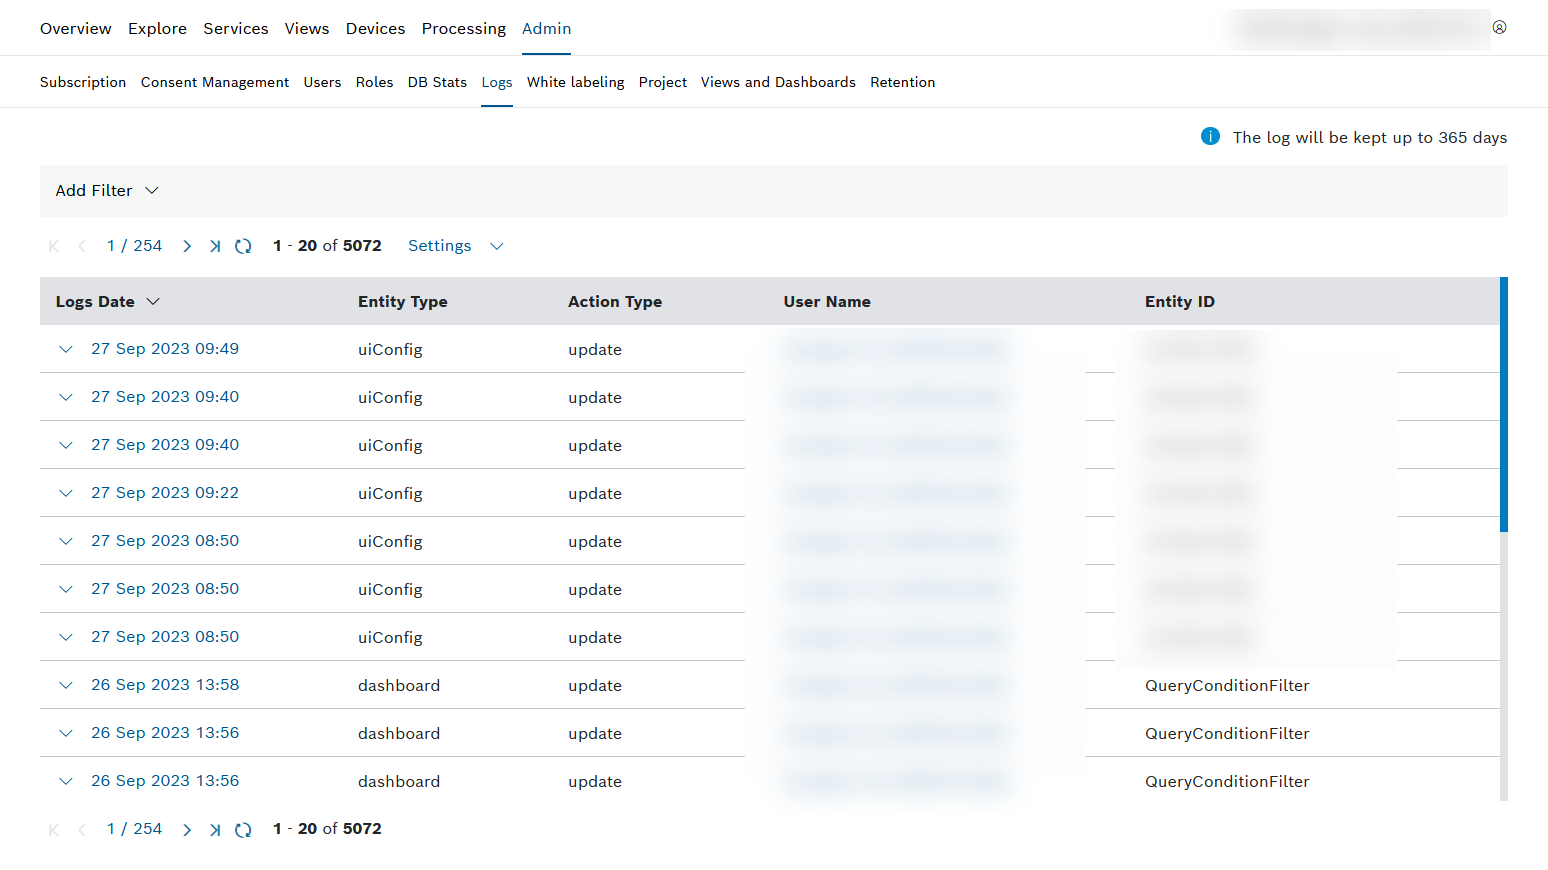
Prerequisites
To execute the following actions, you have to be assigned to the Manager role or higher.
General functions
Filtering for log entries
The following filters can be applied:
- Date Range
- User Name
- Action Type
- Status
- User ID
- Entity ID
- Entity Type
Proceed as follows
- Click the Add filter drop-down list.
- Select a filter category.
→ A dialog is displayed in which you can define the filter. - Click the Save button.
→ The filter is applied to the table.
Wildcards can be used to filter for log entries.
Paging
Proceed as follows
Use the ![]() and
and ![]() icons to jump to either the first page or the last page of entries.
icons to jump to either the first page or the last page of entries.
Use the ![]() and
and ![]() icons to go back a page or forward.
icons to go back a page or forward.
Refreshing the log entries
Proceed as follows
Click the ![]() icon to refresh the list of log entries.
icon to refresh the list of log entries.
Limiting the number of log entries
Proceed as follows
- Click the Settings drop-down list.
- Select the number of log entries to be displayed per page.
→ The number of displayed entries per page is adjusted accordingly.
Showing/hiding columns
Proceed as follows
- Click the Settings drop-down list.
- Select/Deselect any columns that you want to show/hide.
→ The columns are added or removed to/from the table.