In Color Settings, you can white label your project to adjust it to your company's look and feel.
You can make the following changes to the look and feel:
The color of buttons and links
The color of chart elements
- The color of booking events
Proceed as follows
Click the Color Settings tab.
→ The Color Settings tab is displayed and shows the default settings.
Prerequisites
- To execute the following actions, you have to be assigned to the Manager role.
Configuring the look and feel
Proceed as follows
- In the Primary Color field, click the hex color code.
→ The color palette is displayed. - Either use the slider to pick a color or enter the hex color code.
- Activate the Remove colored strips from header and footer checkbox to remove the supergraphics from the header and the footer.
In the Chart palette drop-down list, select the color palette for chart elements.
For the Custom chart palette, enter a comma-separated list of hex color codes, e.g. #899189,#eff7ef,#000, etc.
- To adjust the color of booking events in the Color configuration for bookings section, proceed as follows:
- In the line of the color you want to change, click the edit icon
 .
.
→ A dialog is displayed indicating that you will also change the color of existing bookings. - To continue, click the Next button.
- In the Name field, edit the name of the color.
- In the Description field, add text that describes the event color.
- To select another Color, enter a color code or click the color square.
- Click the Save button.
- In the line of the color you want to change, click the edit icon
- Click the Save button.
→ The changes to the look and feel of your project have been applied.
Example
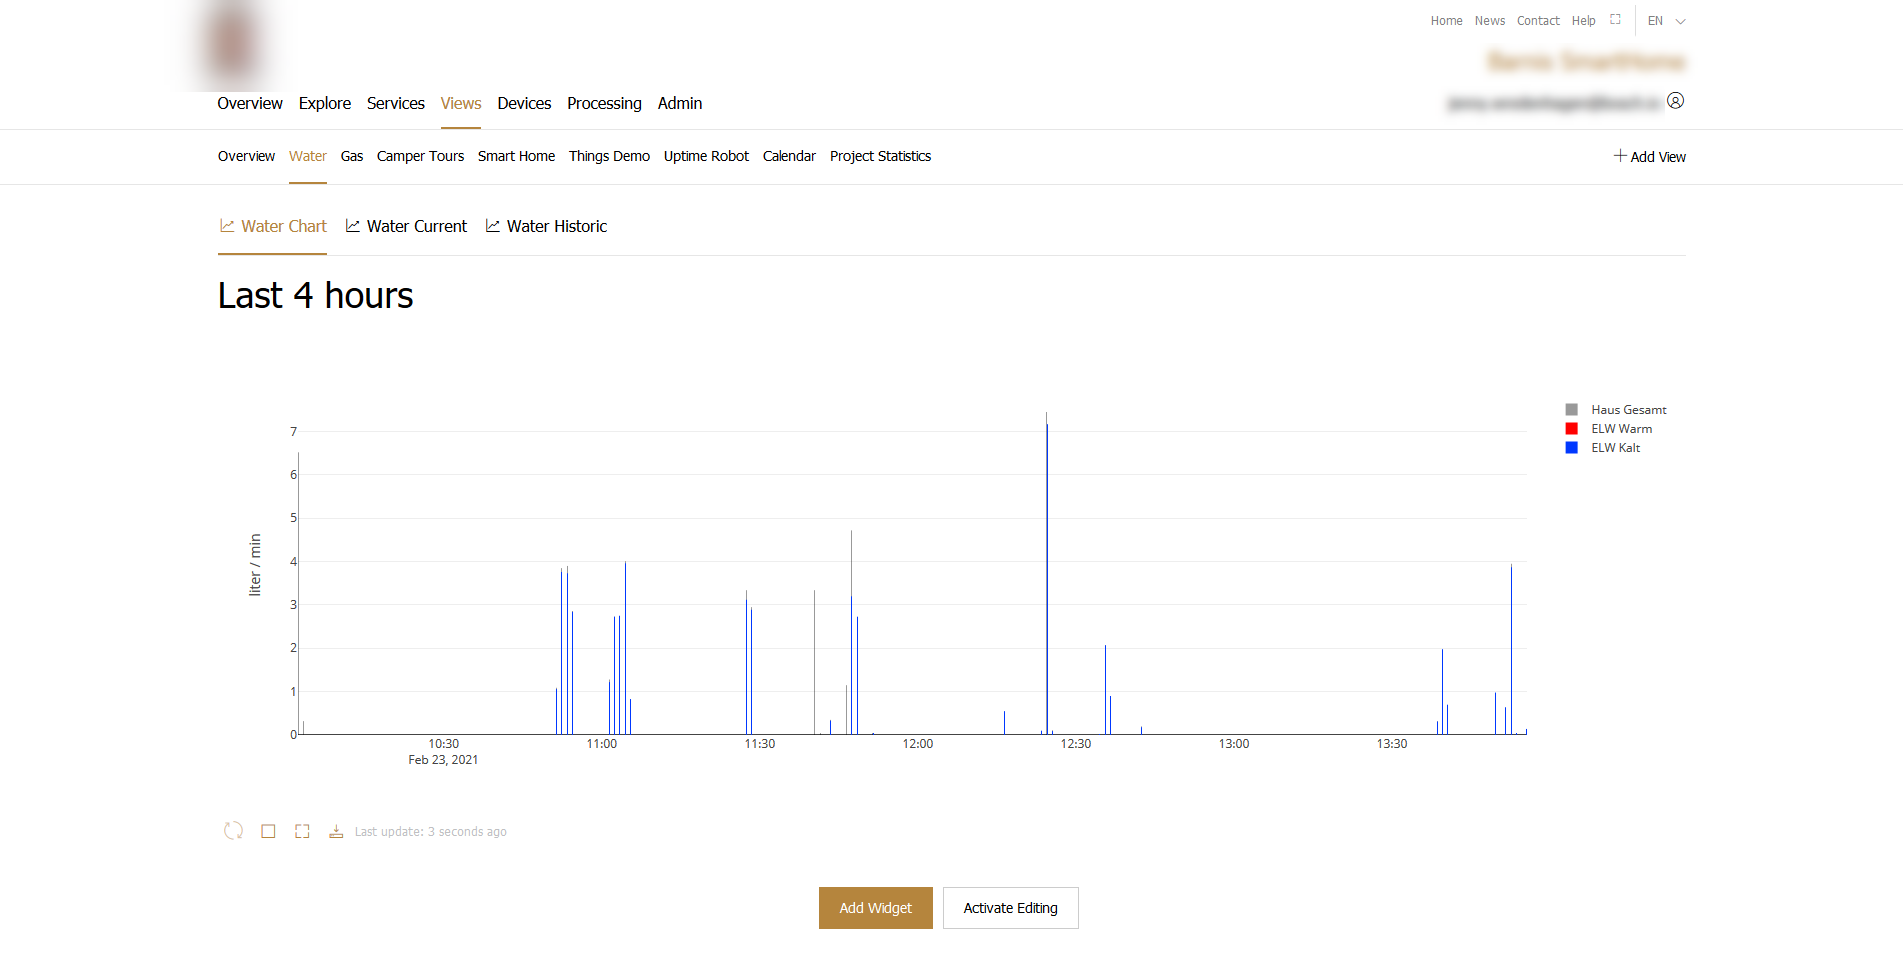
The following image shows a project with customized look and feel: