Proceed as follows:
- Navigate to the .github/workflows directory of your target repository. If you did not copy it earlier from the demo repository, you can copy it now or just create it.
Keep in mind that the .github/workflows directory must be at the root level of the repository. If you use a different directory name or structure, the build will fail.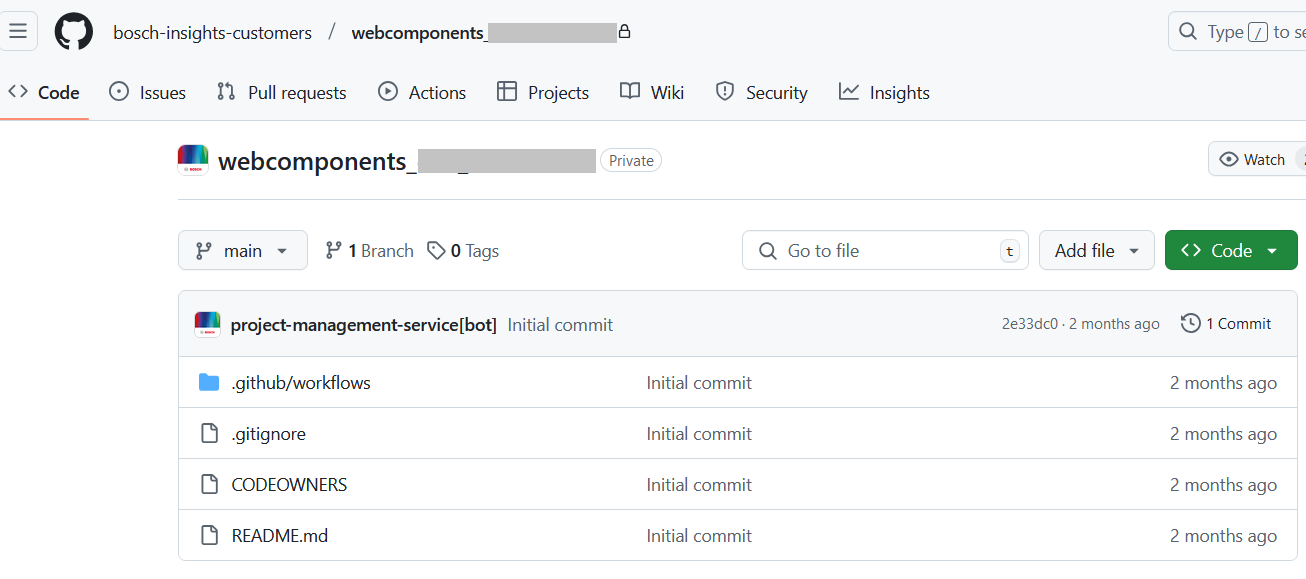
In the .github/workflows directory, you should have a build.yml file with content from the example below, adjusted to your needs.
You can either copy the available file from the demo repository or create a new one.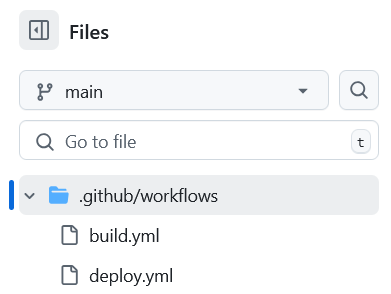
- In the working directory of your widget, make sure that you have a valid package.json file.

- Check whether this file contains an
npmscript entry calledpackage, which bundles the source, assets, and other artifacts required for the widget to function.
Here is an example of such an entry in the files of the demo repository:
GitHub Action for the build operation
Below is an example of a GitHub Action that performs the build operation. It shows how to share the widget called build-hello-angular with the projects called projectA and projectB.
name: Buildon: push: branches: [ "main"]jobs: build-hello-angular: uses: bosch-insights-customers/workflows/.github/workflows/npm_package_builder.yml@main with: nodeVersion: '18.x' workingDirectory: 'hello-angular' allowedProjects: projectA,projectB runNpmTest: false secrets: token: ${{ secrets.GITHUB_TOKEN }} build-helloworld: uses: bosch-insights-customers/workflows/.github/workflows/npm_package_builder.yml@main with: nodeVersion: '18.x' workingDirectory: 'helloworld' runNpmTest: false secrets: token: ${{ secrets.GITHUB_TOKEN }}Enabling builds for the feature branch
It is possible to build and deploy widgets from the feature branch. For this, the build script must address the following:
- The branches filter must contain the branch name.
- The respective widget of that branch must have the
featureBranchEnabledinput argument set. - If you wish to share this version of the widget with other projects, then the
featureBranchAllowedProjectsinput argument can be used. The value has to be a comma-separated list of project names.
name: Buildon: push: branches: [ "main","branchA", "branchB"]jobs: build-hello-angular: uses: bosch-insights-customers/workflows/.github/workflows/npm_package_builder.yml@main with: nodeVersion: '18.x' workingDirectory: 'hello-angular' runNpmTest: false allowedProjects: projectA,projectB featureBranchEnabled: true featureBranchAllowedProjects: project1,project2 secrets: token: ${{ secrets.GITHUB_TOKEN }} build-helloworld: uses: bosch-insights-customers/workflows/.github/workflows/npm_package_builder.yml@main with: nodeVersion: '18.x' workingDirectory: 'helloworld' runNpmTest: false secrets: token: ${{ secrets.GITHUB_TOKEN }}Explanation
This is what happens through this action.
- The action is triggered when:
- A commit is pushed to the main branch.
- A pull request is created against the main branch.
- A commit is pushed to such a source branch.
- The job section contains 2 jobs for building 2 different custom widgets. The job makes use of the bosch-insights-customers/workflows/.github/workflows/npm_package_builder.yml workflow provided by us.
- The
withsection of each job contains the input arguments which are required by thenpm_package_builderworkflow.nodeVersion: is the version of node.js that is required for this widget. The example above uses'18.x'which is a valid input.workingDirectory: is the name of the directory containing the custom widget. This directory must contain a valid package.json for this workflow to run successfully.runNpmTest: is a boolean flag which can be used to turn off the tests when performing a build.
- Each job must contain the GitHub token configuration as shown in the above example. Without this, the called workflows will not have the necessary permissions to checkout the code or attach artifacts after the build is completed.
The workflow directory of the job also works as a filter for the trigger.
If the push event or pull request does not contain any changes in the desired working directory, the job will not run. This will ensure that you do not build or deploy a widget every time when something changes in the repository.
How to verify if the build was successful
- Go to the Actions tab of your target repository.
- In All workflows, which opens by default, you can monitor the history of all actions.
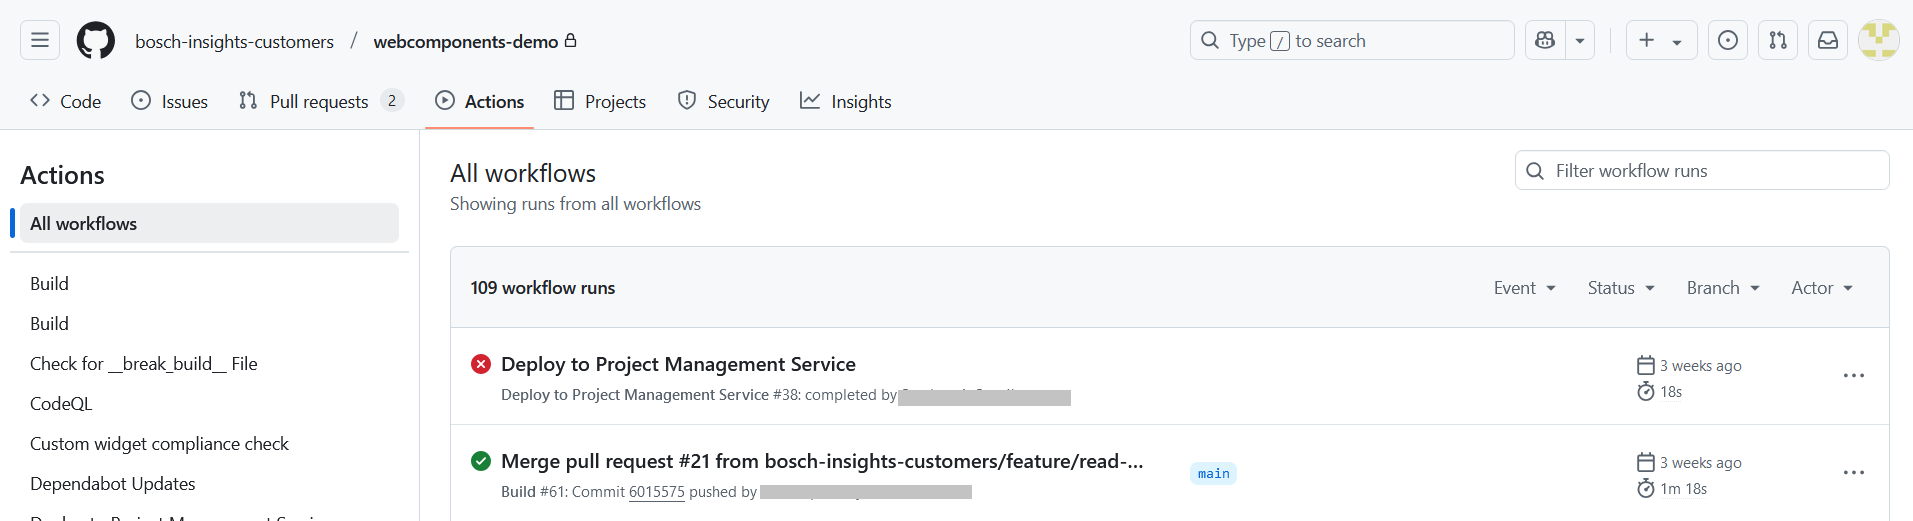
- Use the Build filter on the left navigation to filter for build actions alone.
- In All workflows, which opens by default, you can monitor the history of all actions.
- The green and red icons indicate success or failure respectively.
- You can click on the relevant action entry and view the summary for more details.